The kids decided they wanted to make their own Valentines Day cards this year, so I did some pre-planning and this is what I came up with:
Simple Handmade Valentines Cards
I wanted something cute but very easy to execute with my 6 year old, who is in grade primary. Often when the kids make cards I just give them a bunch of supplies and let them create whatever they come up with, but for a large batch job, I figured we’d need a plan. Otherwise we’d have about 3 heavily embellished cards and 27 unfinished blank cards.
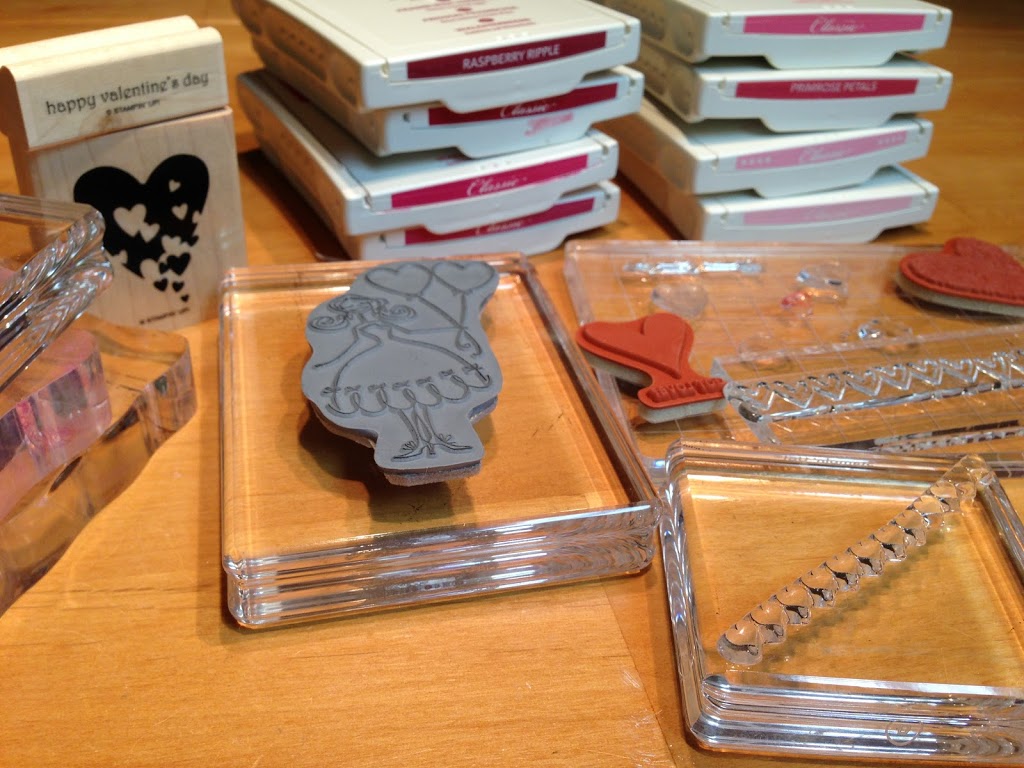
I gathered an assortment of stamps and inks
I went through my now reasonable-sized collection of stamps (I recently purged) and pulled out any hearts and stuck them on a large clear block. I also have 2 heart border stamps so I mounted them on clear blocks. In my search for hearts, I came across the super cute Stamping Bella holding 2 heart shaped balloons. I figured it would be perfect for the back of the card. I pulled out an assortment of red and pink inks, all from Stampin’ Up! These ink pads are large, sturdy, and I have a large variety of colours. They are difficult (for kids) to open, but I knew I’d be doing this project with the kids, so I didn’t mind.
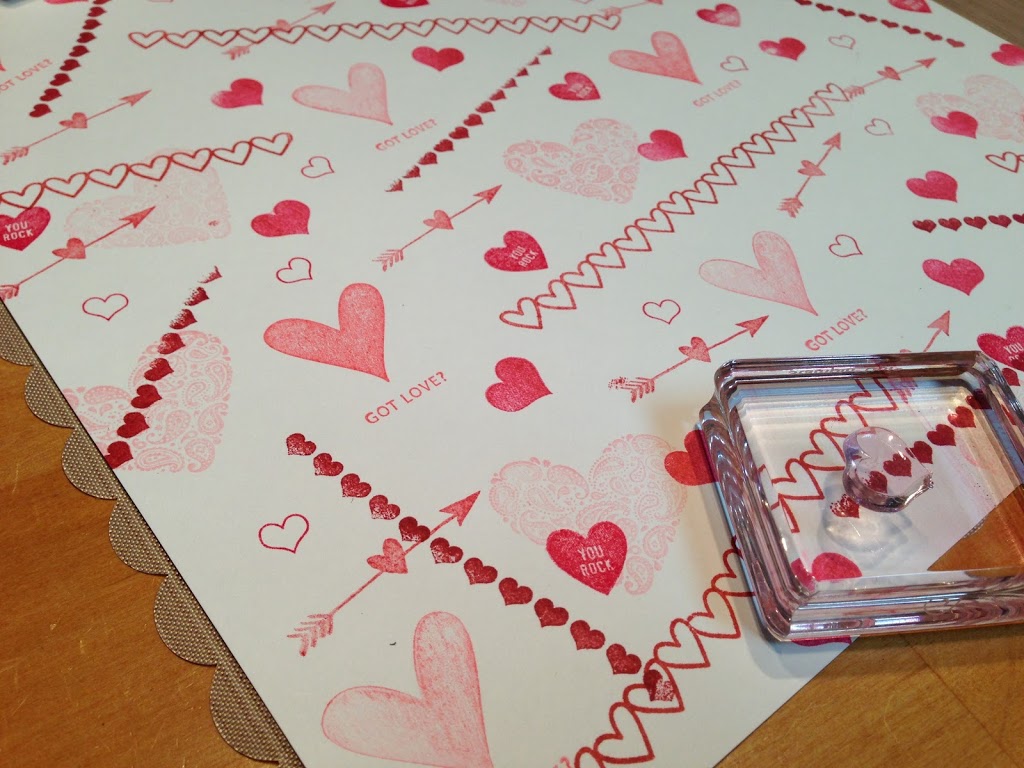
Stamp your own patterned paper!
I knew the stamping would be the main attraction of this craft, and I knew my kids love to just stamp their hearts out all over a piece of paper. This lets them do just that… literally AND figuratively! I created a sample piece of stamped patterned paper using all the hearts and different coloured ink. I will encourage the kids to use one colour per stamp to minimize the amount of cleaning we’ll need to do.
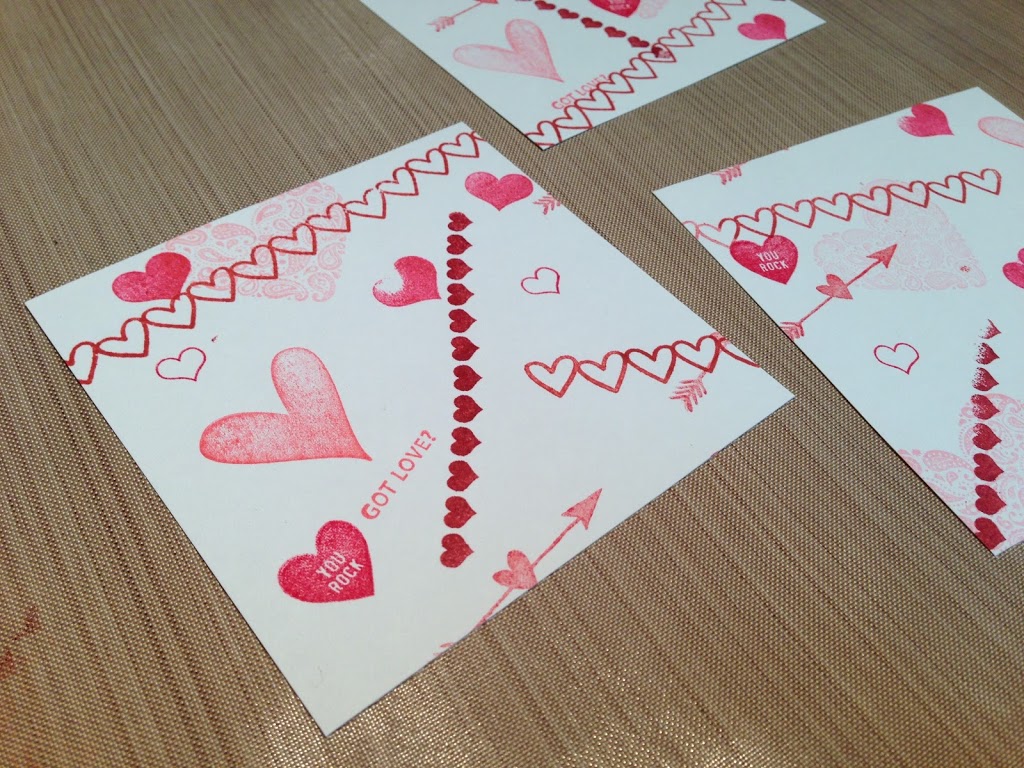
4X4 cards of stamped patterned paper
Then I cut the paper into 4X4 inch squares. When I do it with the kids, I will probably cut the paper into squares while the kids are doing the next step.
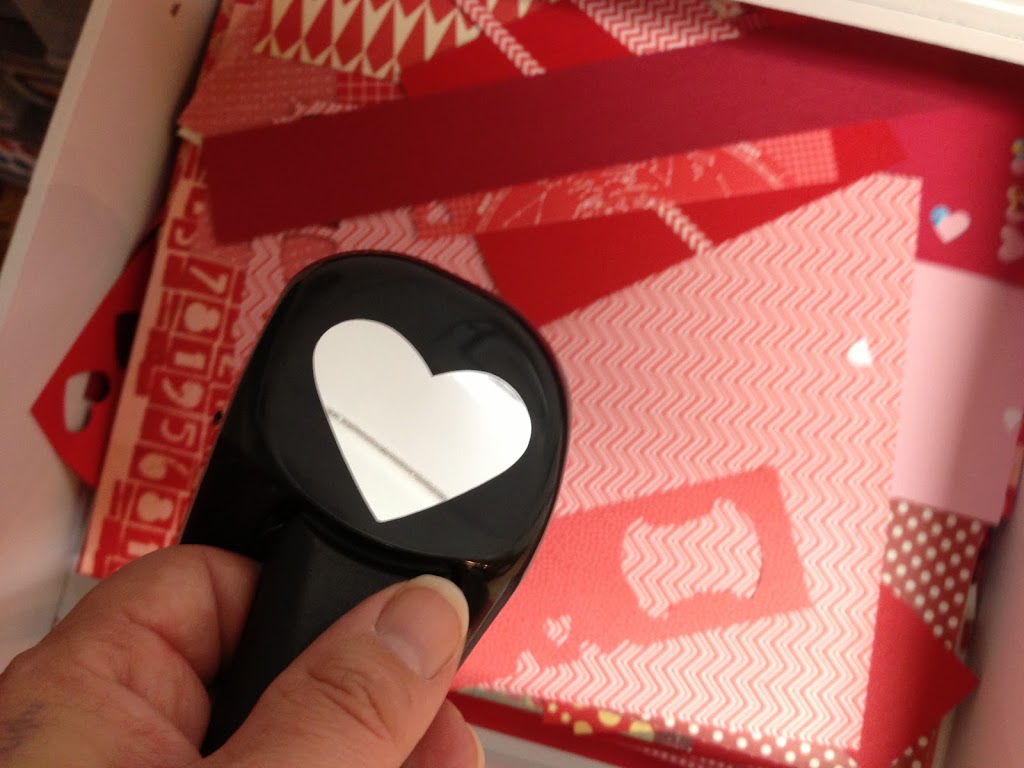
Heart Punch + Red Scraps= Valentines Goodness!
I took my heart punch over to my red scraps drawer and looked for some mostly solid scraps (so as to not compete too much with the stamped background we created). I ended up finding a bunch of scraps from a project I made using Cherry Cobbler cardstock (by Stampin’ Up!), and I also switched to a larger heart punch.
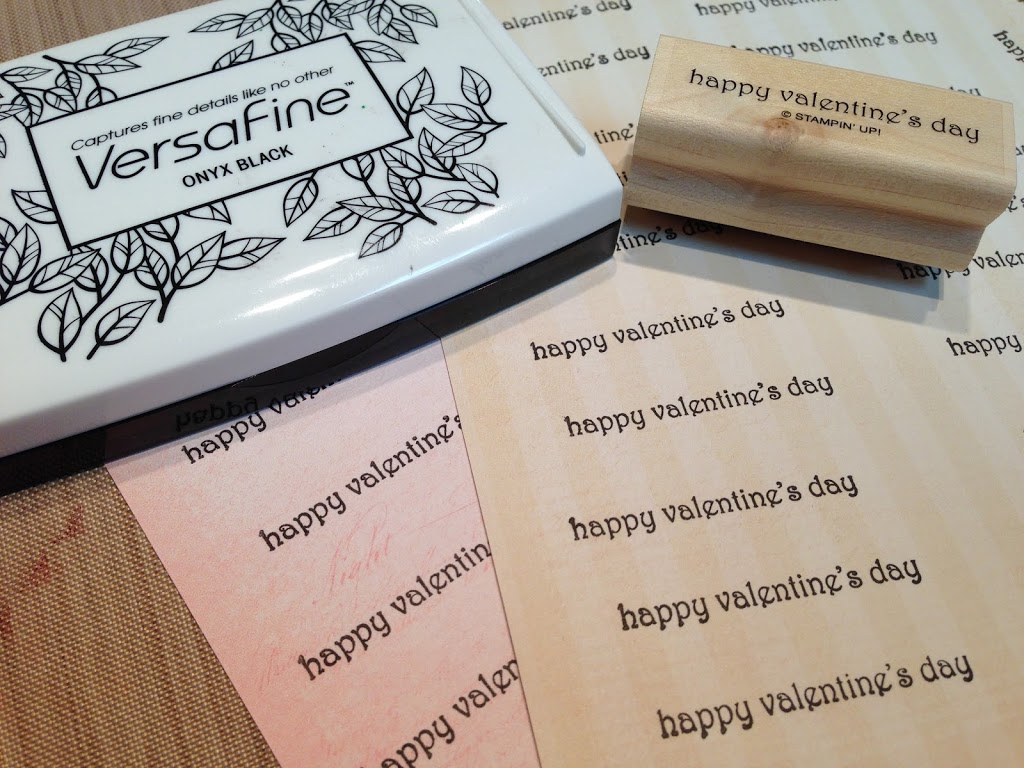
Pre-stamped sentiments
I decided to prestamp all the sentiments for all the cards. I did this to make the project more manageable for my 6-year old. I just used scissors to cut the sentiments into strips.
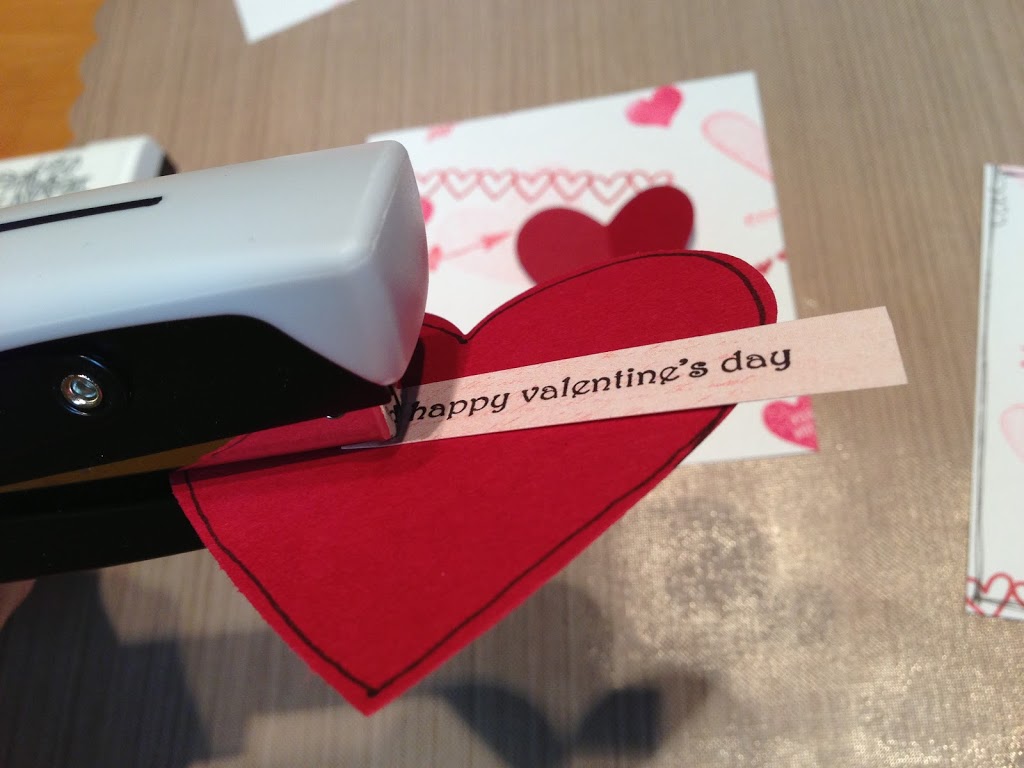
Attach sentiment with stapler
My kids love my Tiny Attacher, so I knew I had to incorporate this tool into the project!
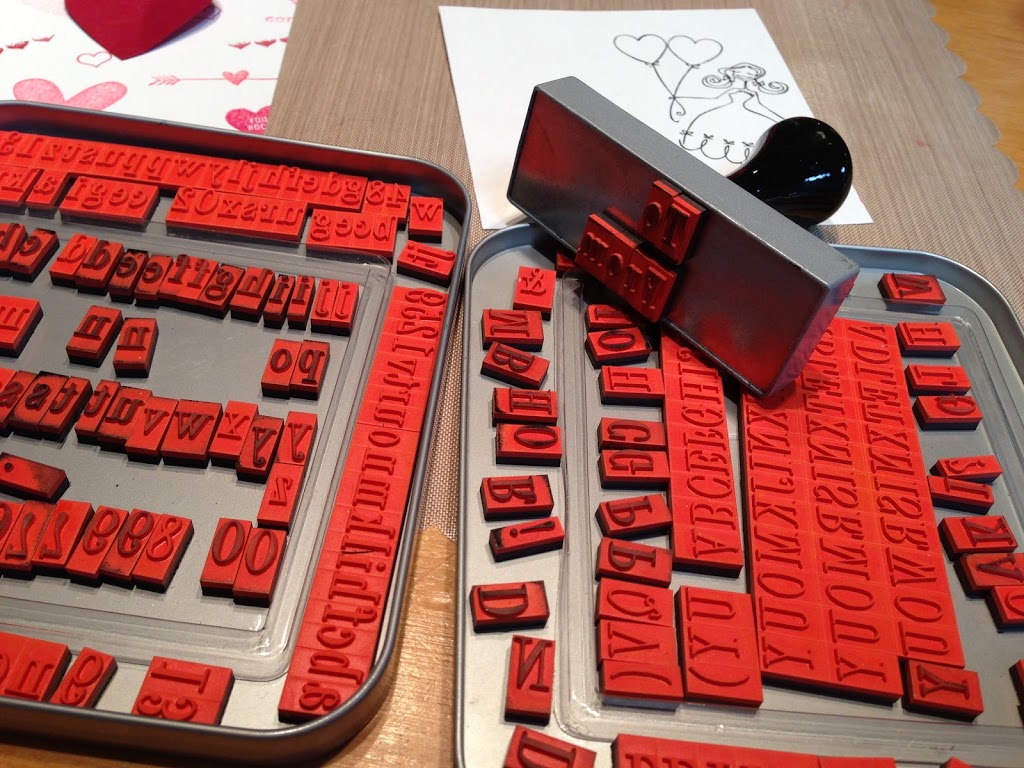
Creating a “To” and “From” for the cards
I used the Making Memories magnetic letter set (one of my best early scrappy purchases!) to create a “To” and “From” for the backs of the cards. I ended up orienting them sideways on the stamper tool so I could leave more space for the kids to write the names of their classmates. I remembered to set up my steps so that we would stamp the backs of the cards before we attached the hearts to the fronts so there would be a smooth flat surface for stamping those backs. I might get the kids to write in the names of their friends before attaching those hearts too!
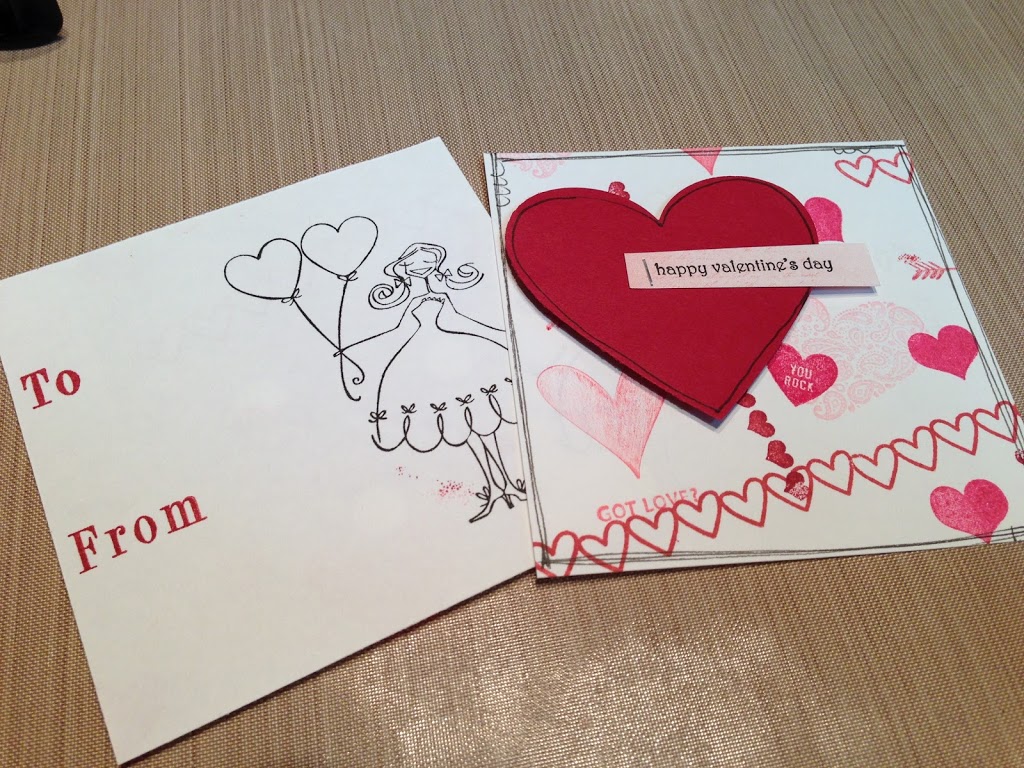
Here again is the sample of the finished card
Attach the heart with pop dots and do some optional doodling if you like, and voila- this card is done! Just 29 more to go. Per kid. (yikes!)
Setting up crafts for kids: I have found that when working with kids it really helps to have a finished product for them to work towards (unless you’re going for a free-for-all, which we often do too!) as well as samples of some of the steps. For example, I left some of the stamped paper uncut so they would see that we start stamping on a large paper, then cut it down, rather than thinking they’d be stamping on little 4X4 cards.
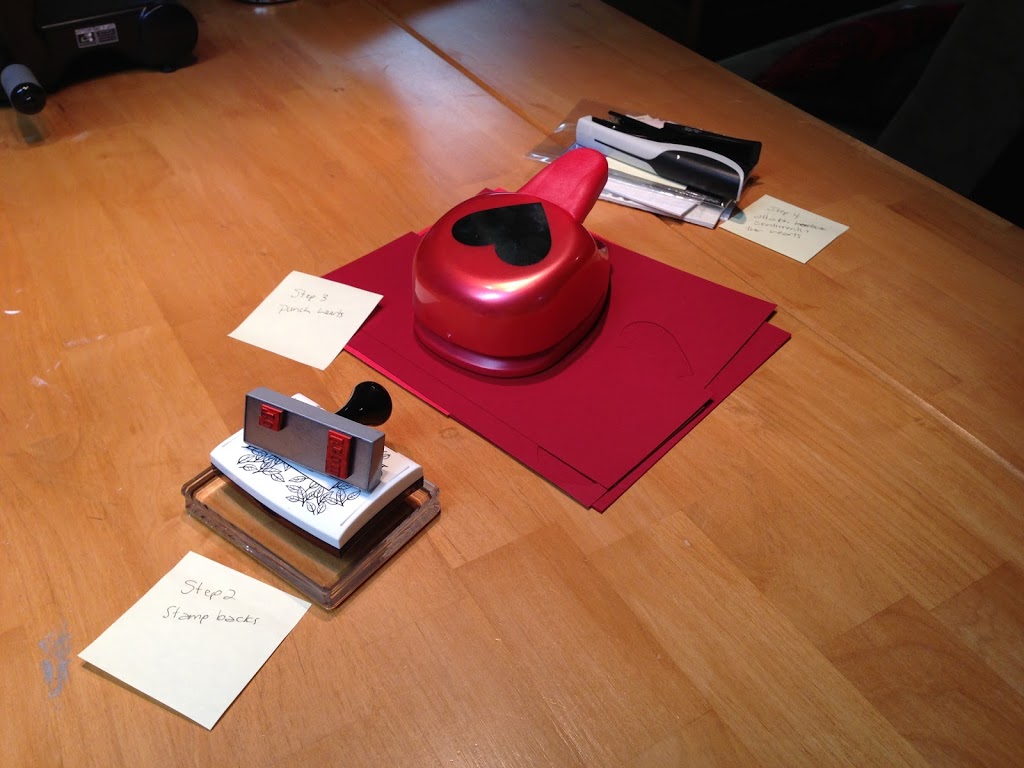
It also helps to package all the supplies together into steps, so they have all they need for one step, and are not distracted by the tools and products for the next step. I put the prestamped and cut sentiments into little clear bags with my girls’ names on them and grouped together the tools and consumables for each step.
Step 1 all set up!
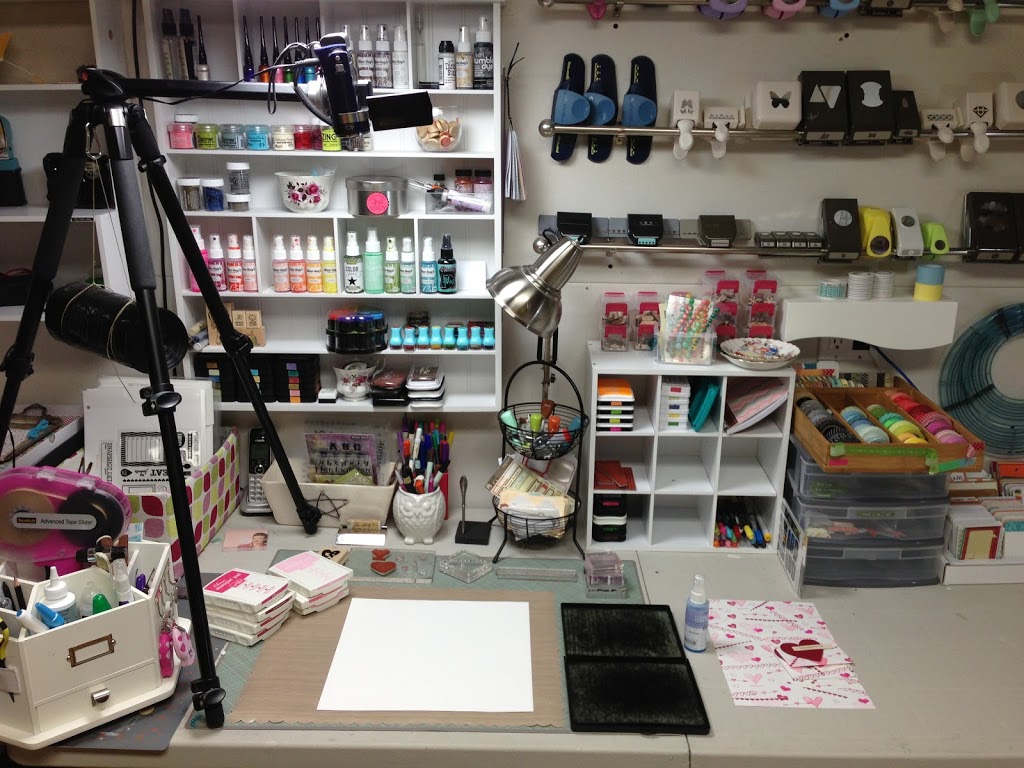
Here is my workspace all set up for Sophie to work on stamping her background papers. She’s left-handed so I set it up just for her with inks on the left, 4 pieces of white 12X12 cardstock in the centre, and her samples over to the side. I have my stamp scrubber all set up to her right because I know she loves cleaning stamps as much as she loves stamping! If only I could say the same was true for me! There is a selection of stamps and blocks all set up at the top of her workspace, and I’ll move them out of her space as she is finished with each one. I’ve flipped my Martha Stewart craft mat over so I don’t need to worry about ink stains on my grid, and also put out my Bazzil non-stick craft mat so she can stamp off the page on the sides. She loves making crafty videos so I’ve left my video equipment all set up in case she wants to make a video.
Steps 2-4 are all set to move in to her workspace when the time is right!
You may be wondering who is Mercy Tiara, and why the name? MercyTiara is an anagram of my first and middle names, Tracy Marie. I discovered this name in the 90's in grad school when we were all coming up with alter egos for one another in a lab one day. I've used it ever since, but you can call me Tracy or MercyTiara, or anything you want... just don't call me late for supper!